Hilarious Grandma Goes Viral For Video Explaining Her Pumpkin Carving “Do’s And Don’ts”
Ah, Halloween—the beloved holiday that enchants both young and old, where magic mingles with the eerie, and the air is filled with excitement and anticipation.
For many, it’s not just a holiday; Halloween a cherished tradition that captures the essence of autumn.
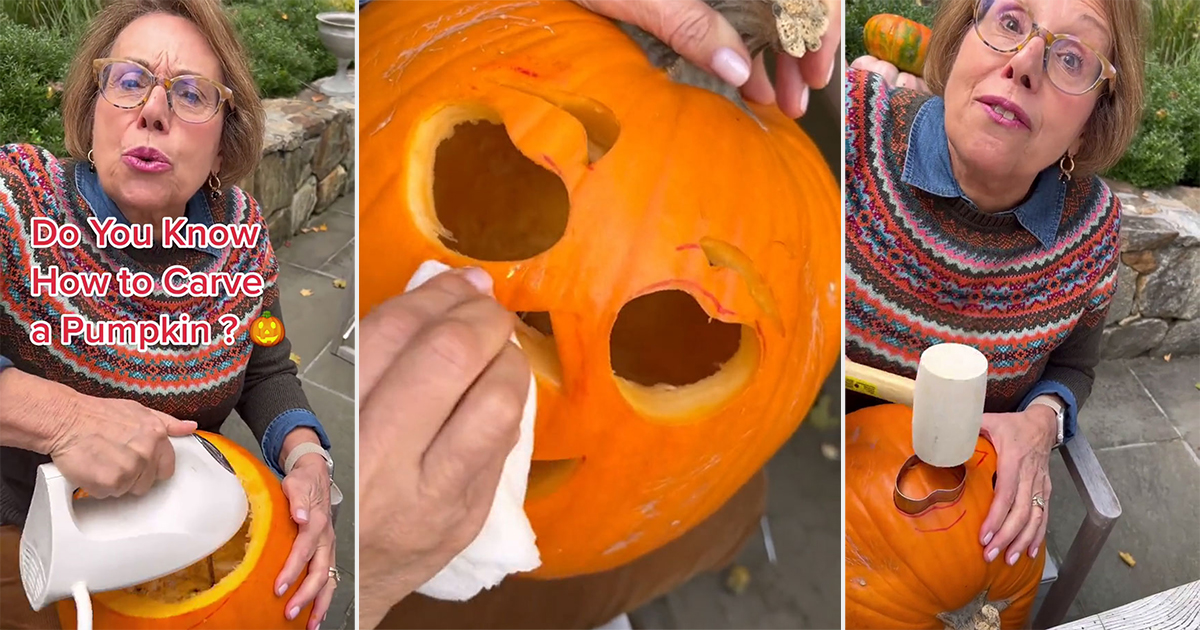
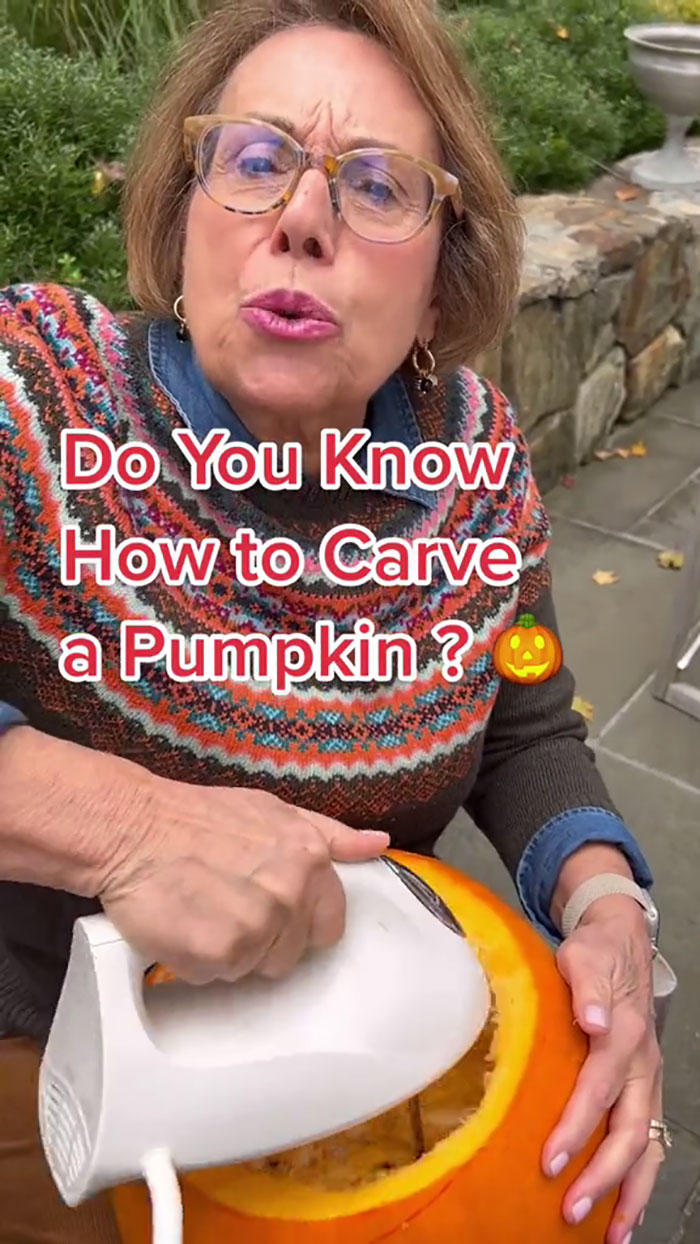
Pumpkin carving is one of Halloween’s most practiced traditions, and no one takes it more seriously (and makes it more fun) than Grandma Babs Costello.
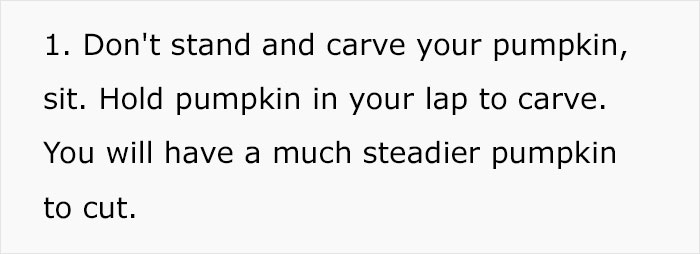
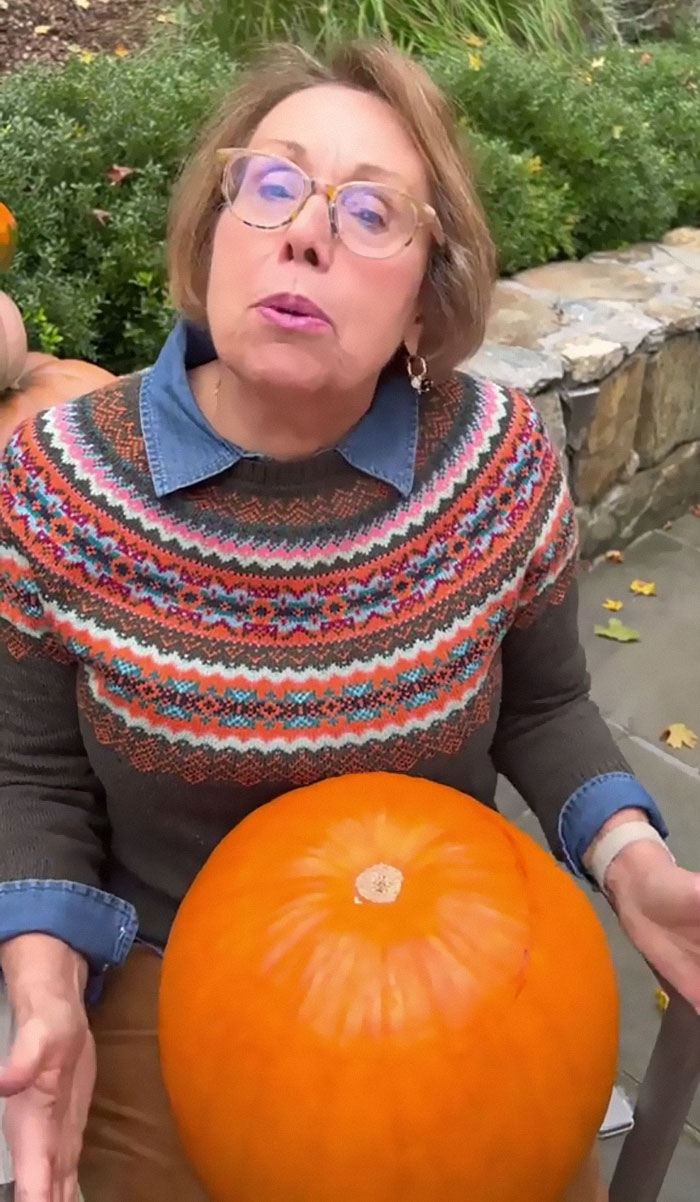
1.
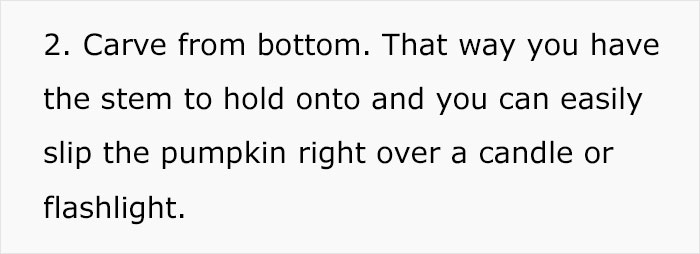
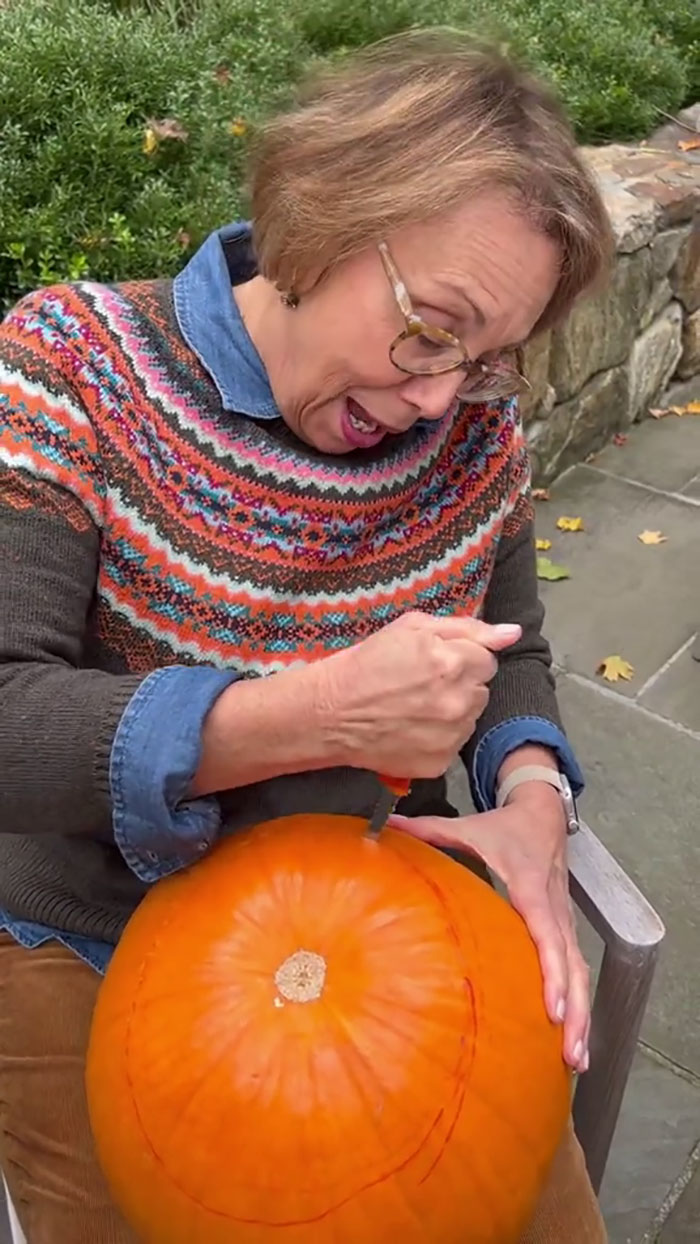
2.
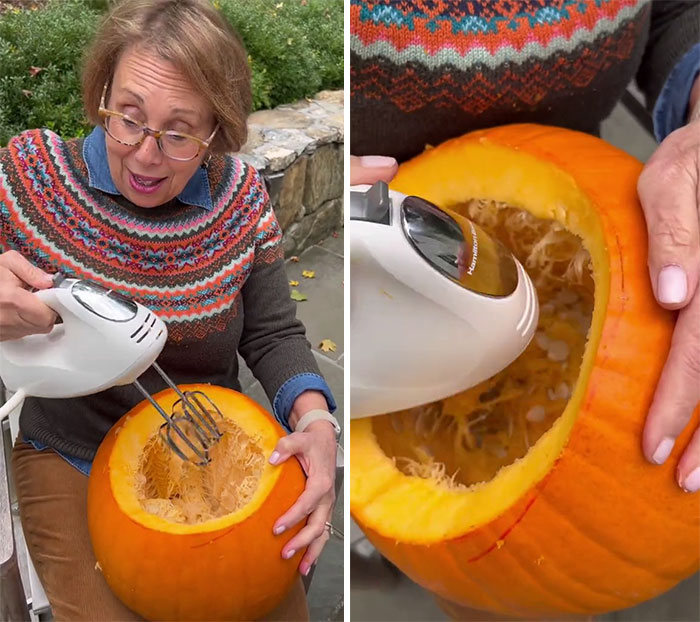
3.
4.
5.
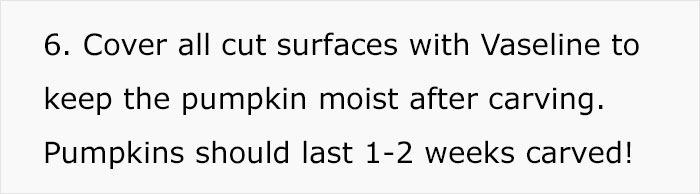
6.
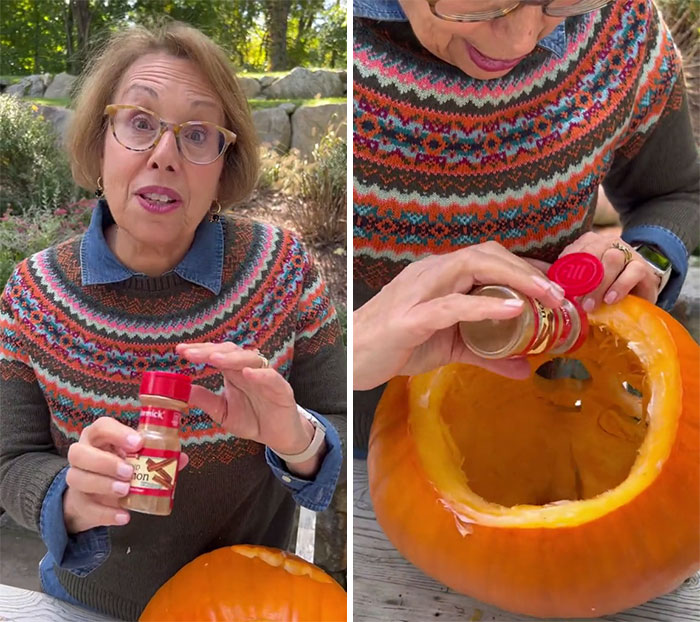
7.
8.
9.
10.
11.

12.

13.
14.
15.
16.
17.
18.
19.
20.

21.
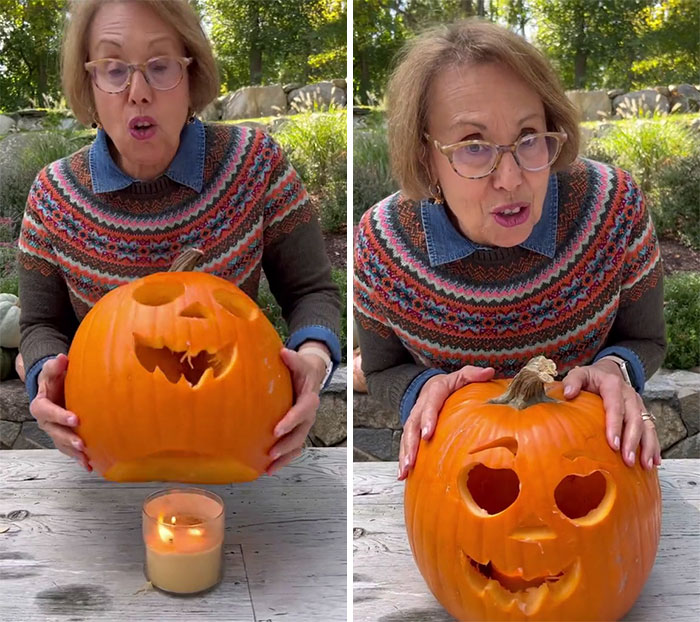
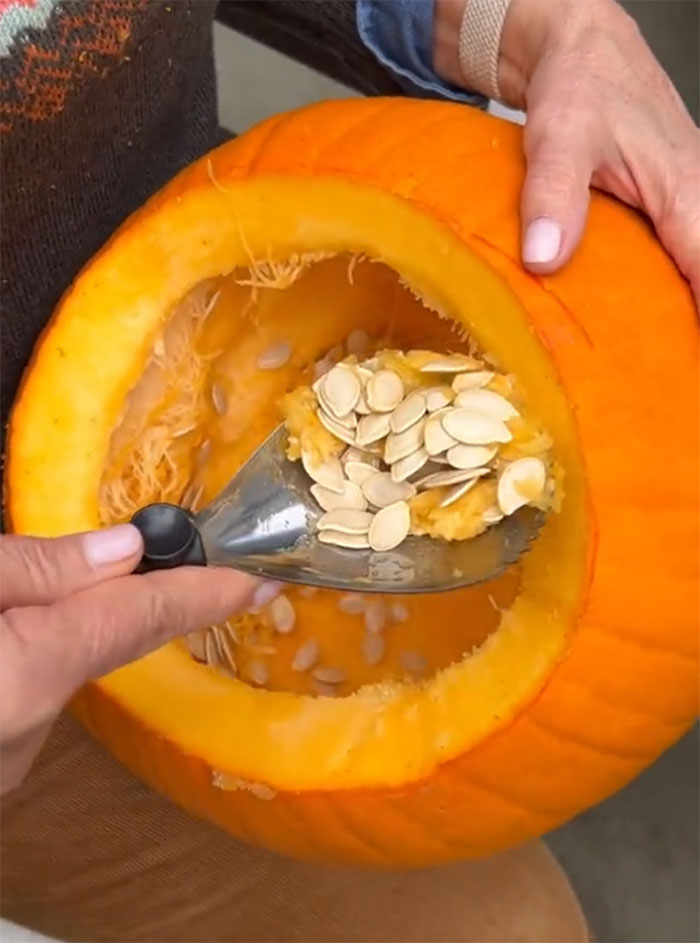
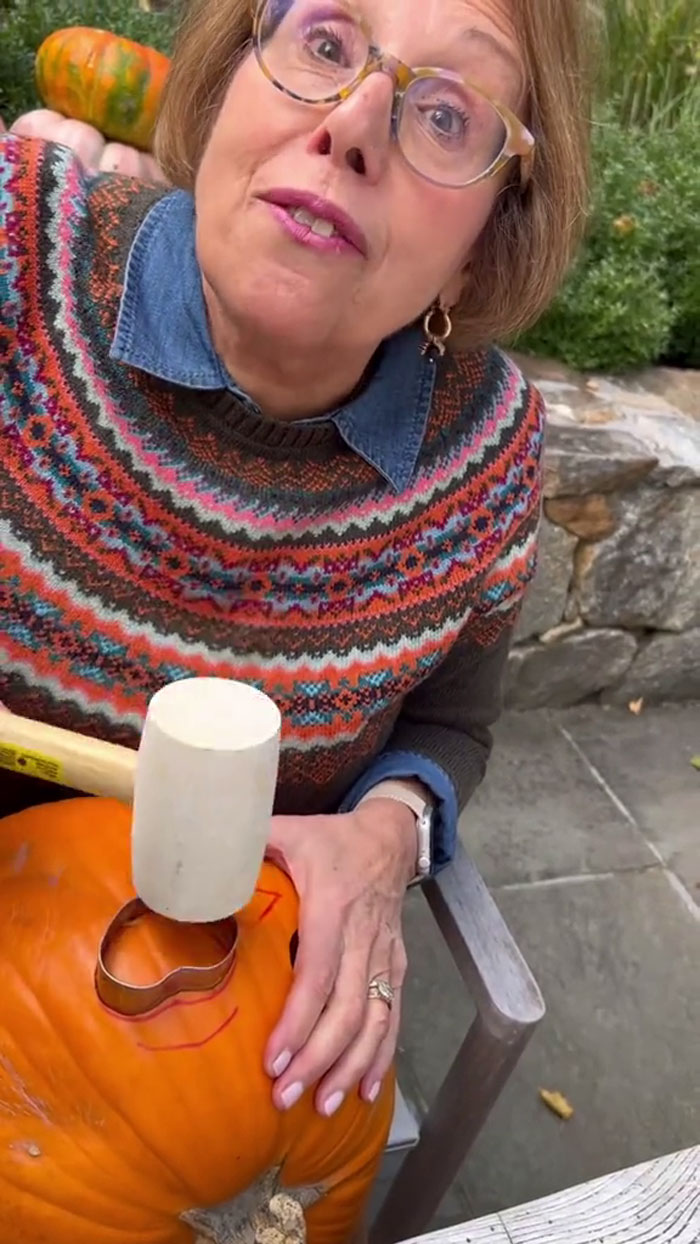
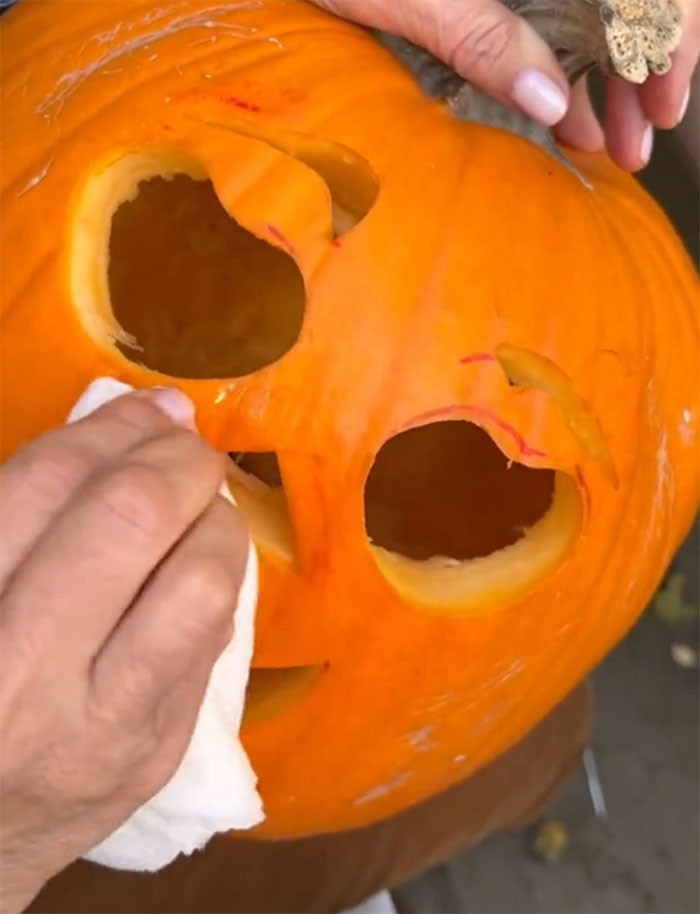
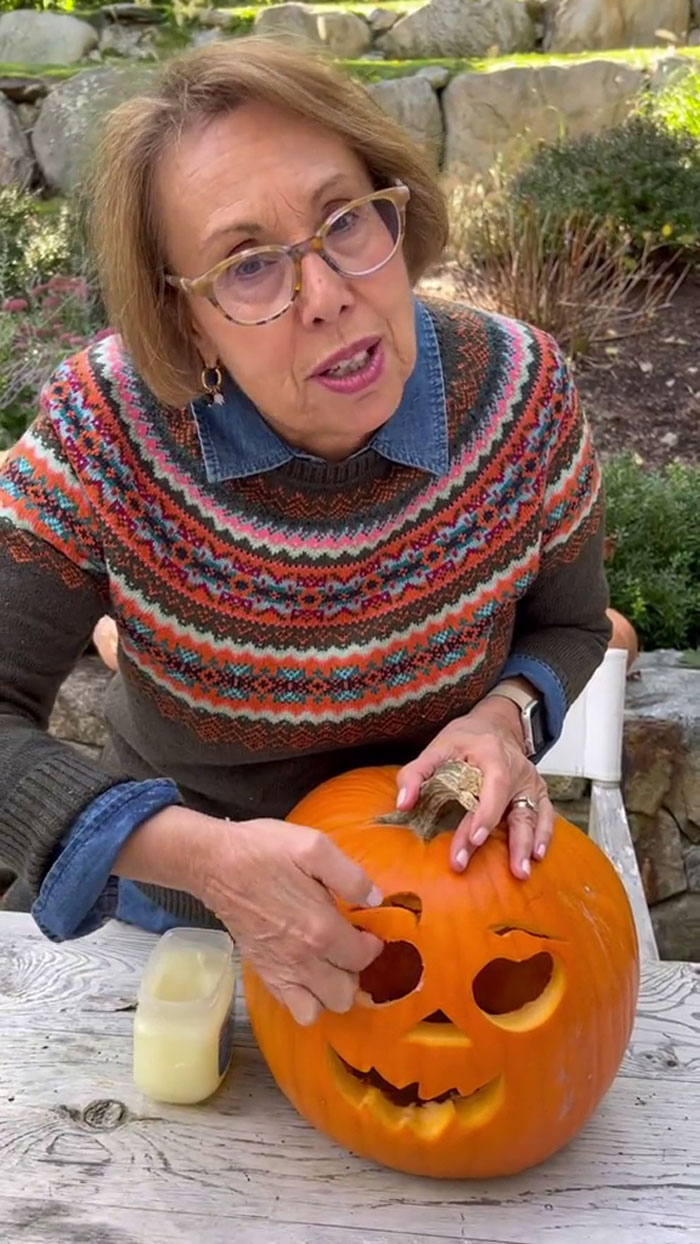
@brunchwithbabs 🎃Do’s and Don’ts of Pumpkin Carving 🎃It is a treasured tradition in our family to carve jack-o-lanterns for Halloween. But with all the yuck and mess, sometimes my kids would quit the project before we even started. Babs’ Do’s and Don’ts for Pumpkin Carving, saves the mess and speeds up carving so you can have the perfect jack-o-lantern with no mess and no fuss. Happy Halloween 🎃XO Babs 1. Carve from bottom. That way you have the stem to hold onto and you can easily slip the pumpkin right over a candle or flashlight. 2. Hold pumpkin in your lap to carve. You will have a much steadier pumpkin to cut. 3. Use a red dry erase marker to sketch your design. It erases easily and if you miss a spot, it blends in. 4. Use a hand mixer to clean out your pumpkin. 5. Use cookie cutters and a rubber mallet to carve your design. 6. Cover all cut surfaces with Vaseline to keep the pumpkin moist after carving. Pumpkins should last 1-2 weeks carved! 7. Sprinkle some cinnamon on the inside top of your pumpkin for festive pumpkin spice smell when a candle is lit inside the pumpkin. 🎃 #pumpkincarving
h/t: BoredPanda